

There’s something about the Oregon Coast that makes you feel like you’re constantly chasing a moment.
The light changes fast. The weather refuses to commit. And just when you think you’ve seen it all, the landscape shifts again like it’s trying to keep things interesting.
Photographing from Cannon Beach down to the Redwoods is less about controlling the shot and more about learning how to work with whatever the coast decides to give you. I was really excited to shoot at two state parks and found out that they were closed due to mudslides. Super bummed but you pivot and move to the next location. If you want more information on how we did pivot you can read about it here.
The reality is you will not get perfect conditions everywhere. You may not even get them anywhere.
You will get dramatic skies with unexpected breaks of light that last approximately 14 seconds accompanied by wind and rain that makes you question your hobbies. All of these combine to show you scenes that look completely different every hour. The best thing you can do is lean into it.
Cannon Beach is one of those places that somehow always works. Even when it doesn’t.
Even when it’s cloudy. Even when it’s windy. Even when it’s raining and you’re questioning your life choices while standing in wet sand.
Haystack Rock does most of the heavy lifting here:

Photography Tips for Cannon Beach

Remember: If you bring a dog, they will absolutely run directly into your shot at the exact wrong moment.
This is not a problem. This is the photo.

Devil’s Punchbowl is less about clean compositions and more about energy.
You’re not here for calm. You’re here for chaos.
Waves crash into a bowl-shaped cliff, creating unpredictable motion, spray, and the kind of drama photographers pretend they planned.
Photography Tips for Devil’s Punchbowl

Important (but still slightly chaotic) Advice
Thor’s Well looks like the ocean is draining into the center of the earth, which is honestly something to see.
It’s also one of the most photographed and most dangerous spots on the Oregon Coast.
The best time to shoot Thor’s Well is mid to high tide. If you are there too early nothing happens and is incredibly underwhelming. Unfortunately, there is no in-between.

Photography Tips
Bandon feels different. It’s quieter and slower. Like everyone collectively agreed to calm down a little.
The sea stacks here create natural leading lines with minimalist compositions and strong silhouettes especially at golden hour and sunset.
Photography Tips for Bandon Beach

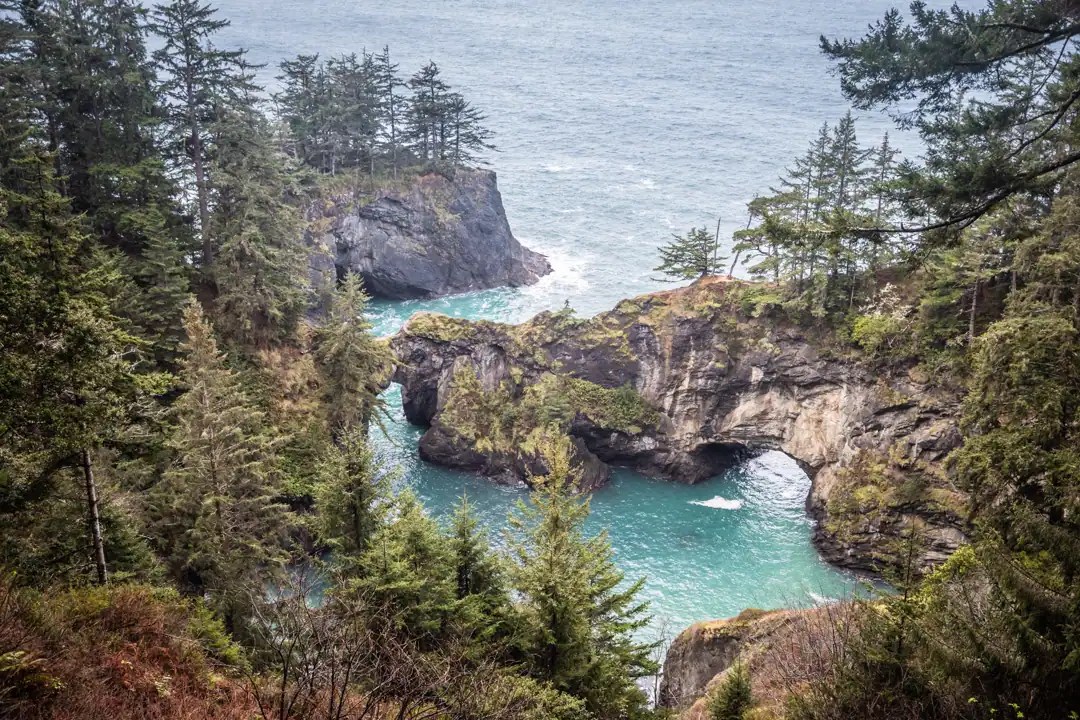
Samuel H. Boardman Scenic Corridor feels less like a normal roadside stop and more like someone accidentally dropped an entire fantasy landscape onto the Oregon Coast.
It also does not photograph the way you expect it to at first. The biggest challenge here is scale. Everything is massive: the cliffs, the rock formations, the drop-offs, the ocean movement below.
And if you’re not careful, your photos can end up looking flat even though the scene itself is incredible. The trick is creating depth.
Photography Tips for Natural Bridges
We chose to travel down into the Redwoods and it was amazing and challenging in the best way. Trying to capture the beauty and size of these trees was something I have not done before so it was definitely a learning curve for me and one I am excited to try again.
Photography Tips for the Redwoods

